Okay ... a wash uses either a thin mix of paint & something else (eg. water for acrylic paints or turps for enamel paints), or a colored ink (which can be bought where you get most mini paints from, or from art shops.
I'm using inks - they're usually more reliable, I've found. Water/acrylic washes on acrylic paint can be OK, but paint/turps washes on enamels can produce bad results.
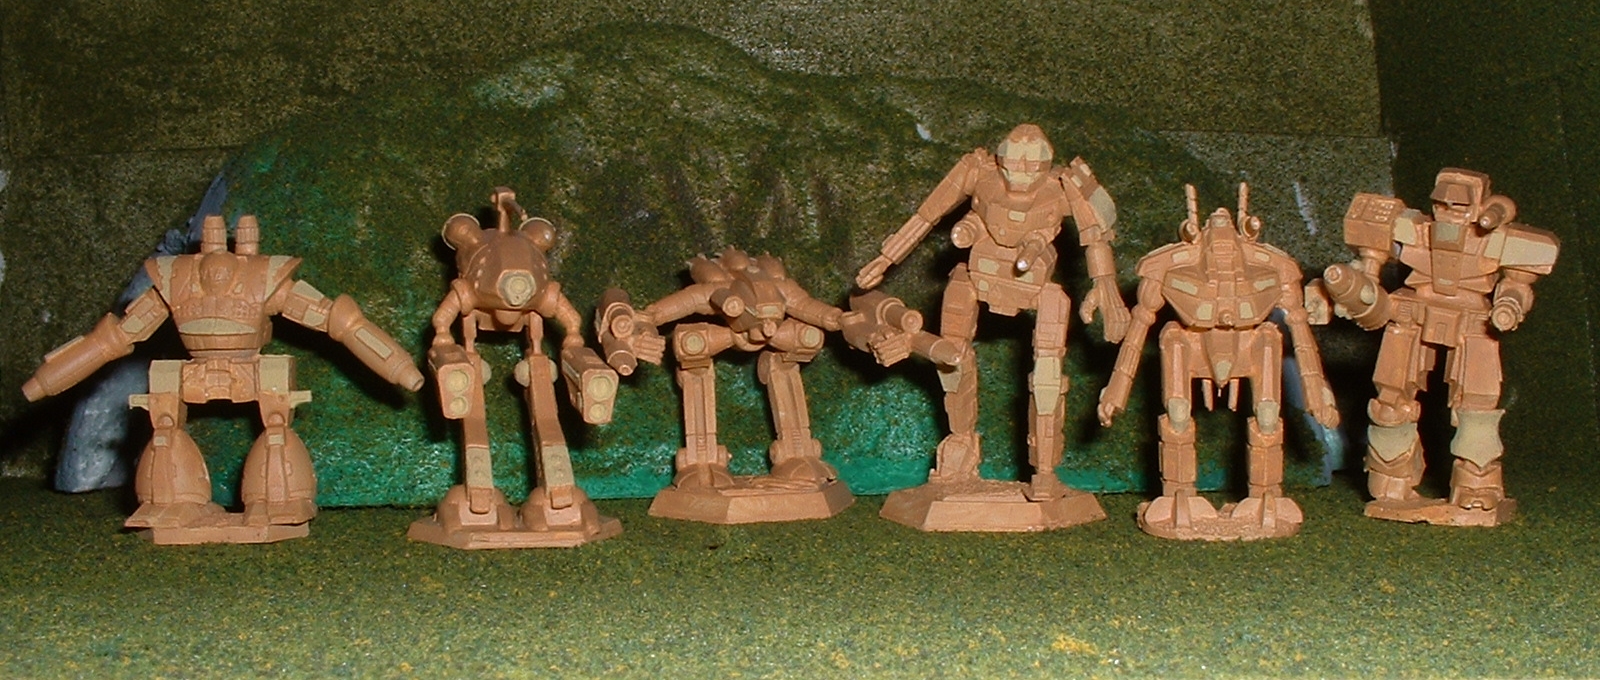
The basic way I use inks is to mix it with some water - usually to about 1 part ink to 3-4 parts water. Then you literally slop this mix all over the mini. Yes - this takes enormous courage the first few times. The ink mix basically flows all over, but settles in the cracks, crevices & panel lines in the mini. This then replicates the natural shadowing & dark bits that occur on "real" 15-meter tall irregularly shaped robots.
Ideally, none of the ink stays on the flat, raised surfaces. Some people swear by "Future" floor polish - a little mixed in the mix helps with this, but as I can't find Future down under, I do without. Cotton ear cleaning buds are really handy for swabbing off excess ink, and cleaning up panels.
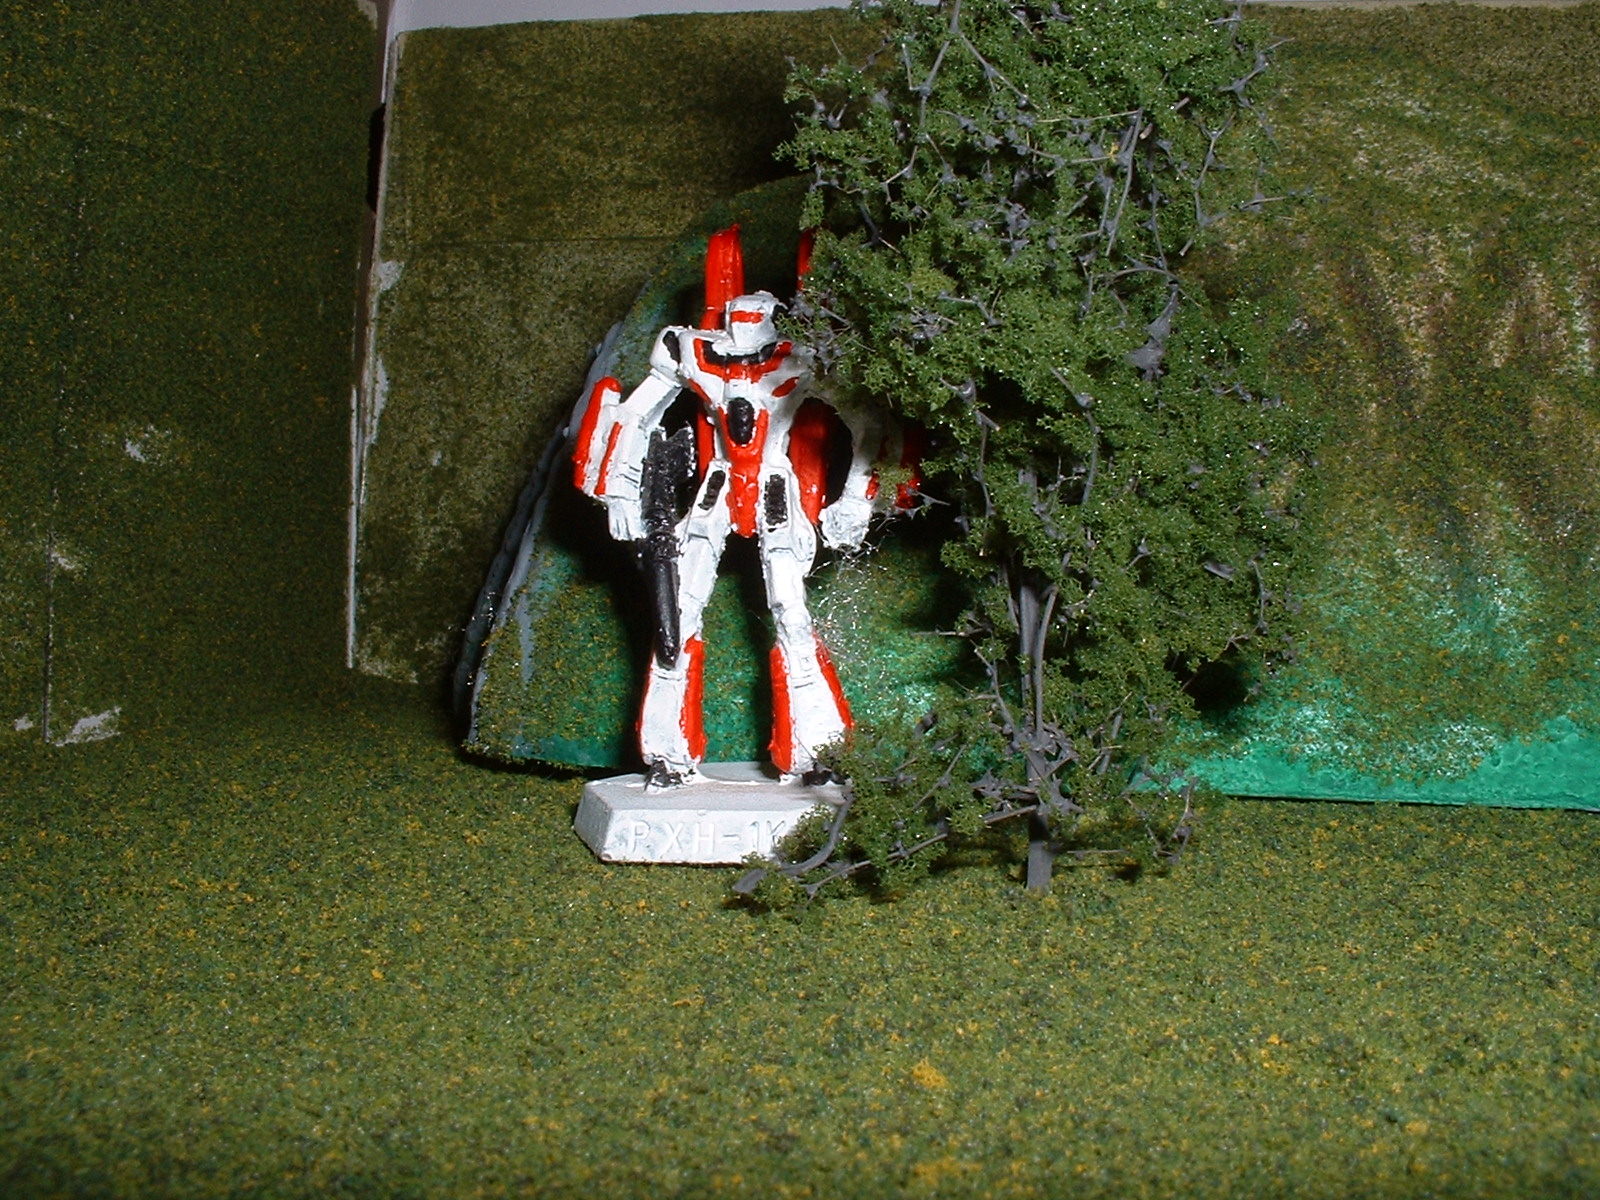
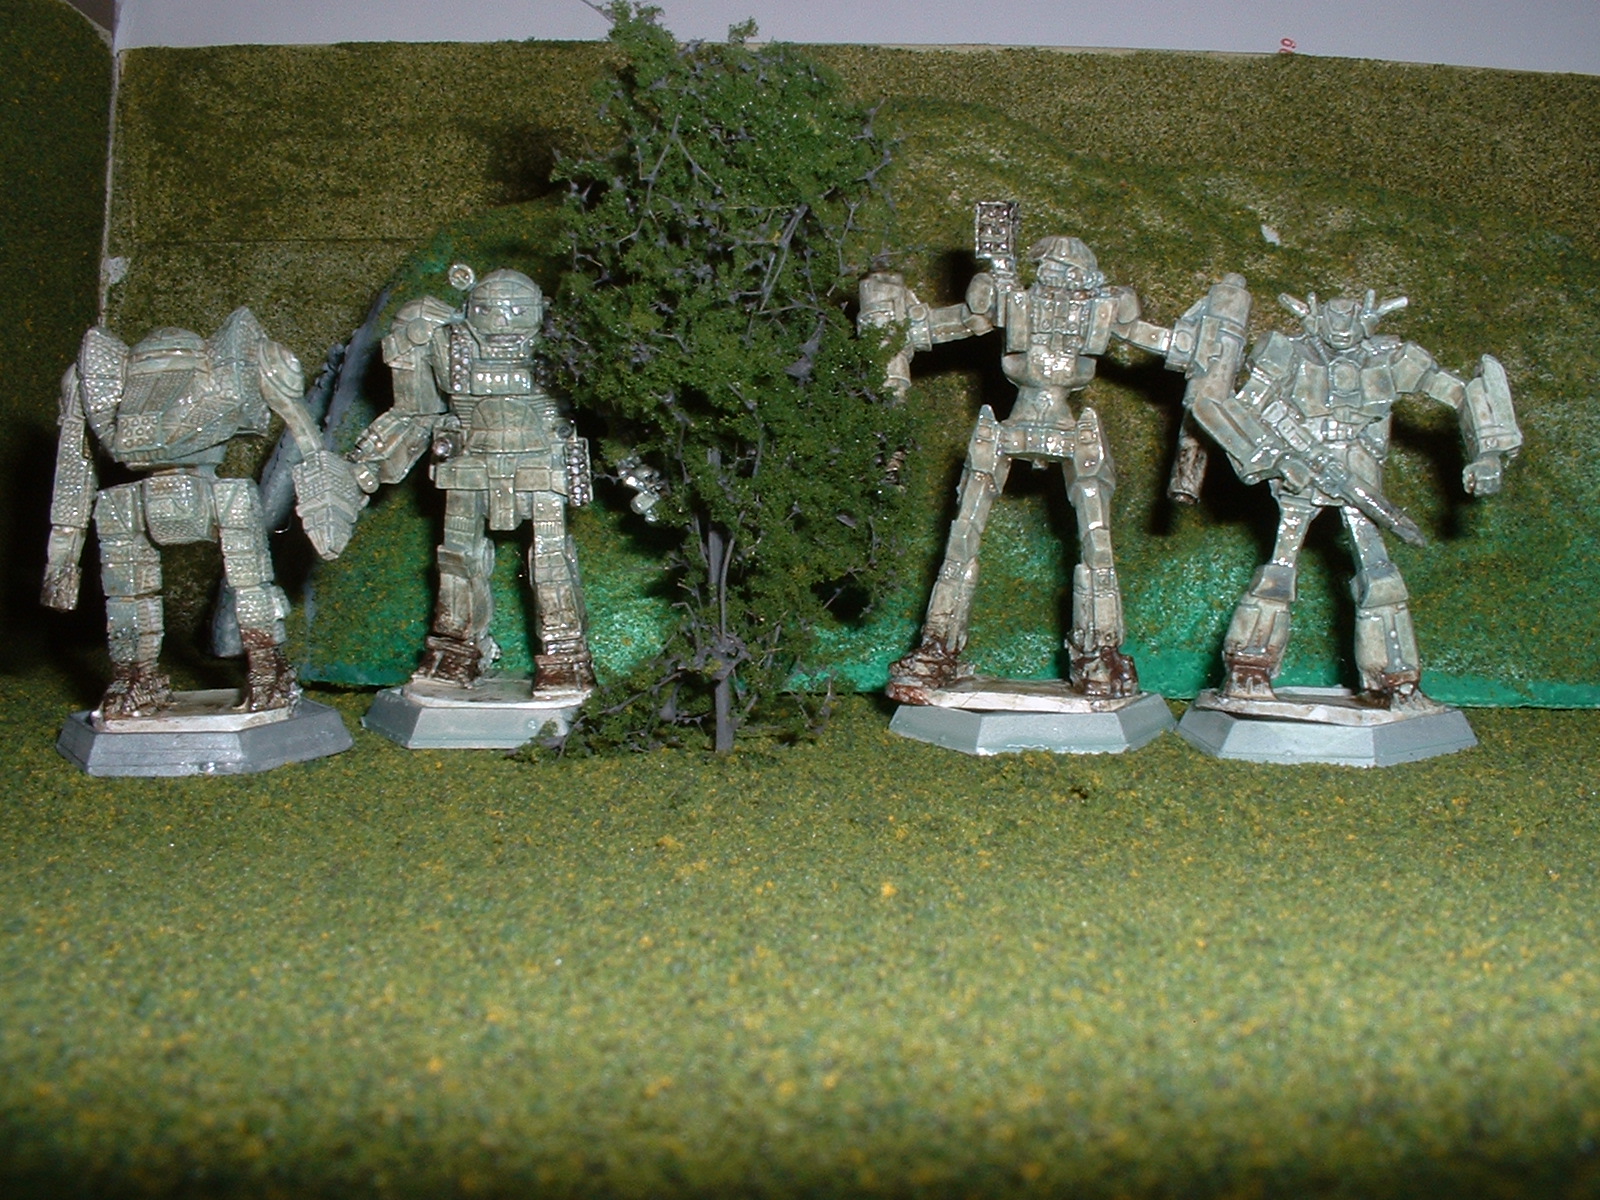
When the ink has dried, it usually pays to go back over the panels with a drybrush coat or two. With drybrushing, I use a wider flat brush - about 1/4" wide. I dip it in the paint, wipe it 3-4 times on an old facewasher I use as my 'paint rag', then brush over the surface I want to cover. Because there's so little paint on the brush, none flows into the nooks and crannies that got inked before; some sticks to the higher panel parts. You need to go over panels a couple of times - mebbe more - with drybrushing, but the net effect is that the panels are the color you want, but the panel lines are highlighted - it looks a lot more realistic. It's also a simpler alternative to what some people do - draw in all the panel lines by hand with a tech pen or micron pen (very thin felt-tip). I did this Feral Cat (assault-grade Nova Cat variant) this way - note how the small details tend to stand out a little better. That was a black wash over green.

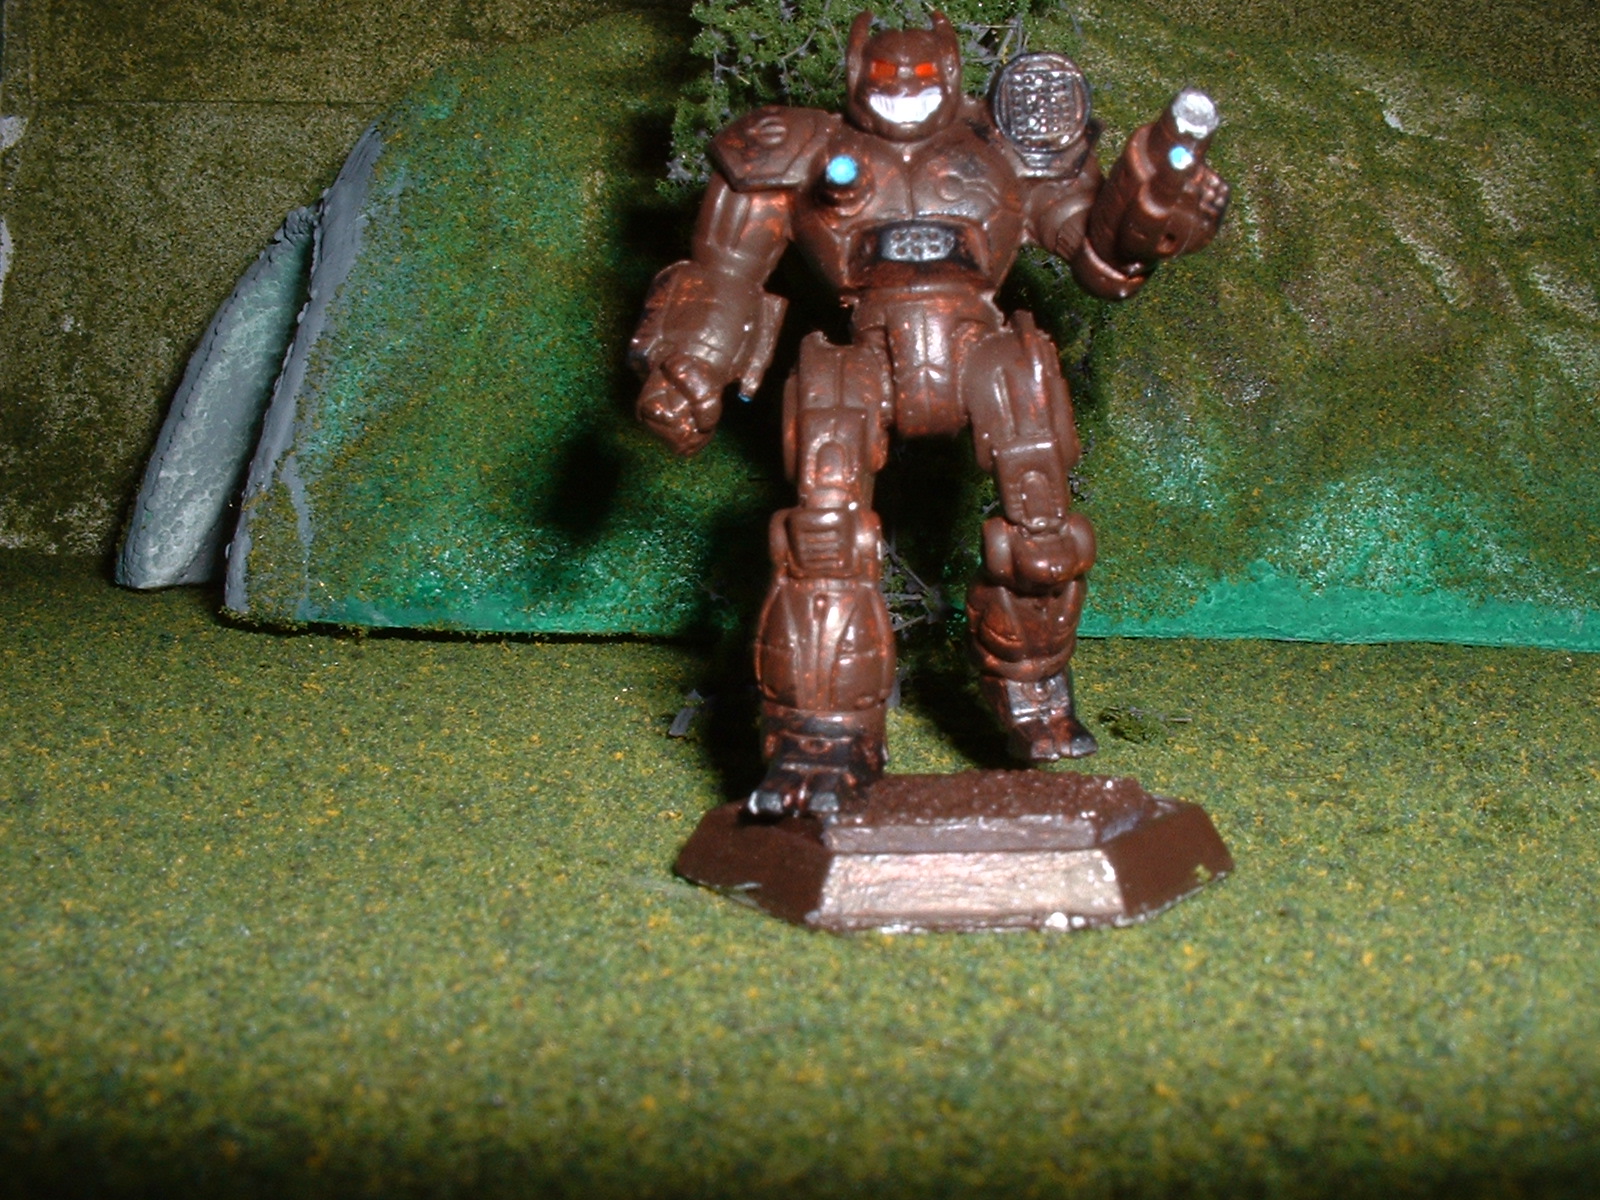
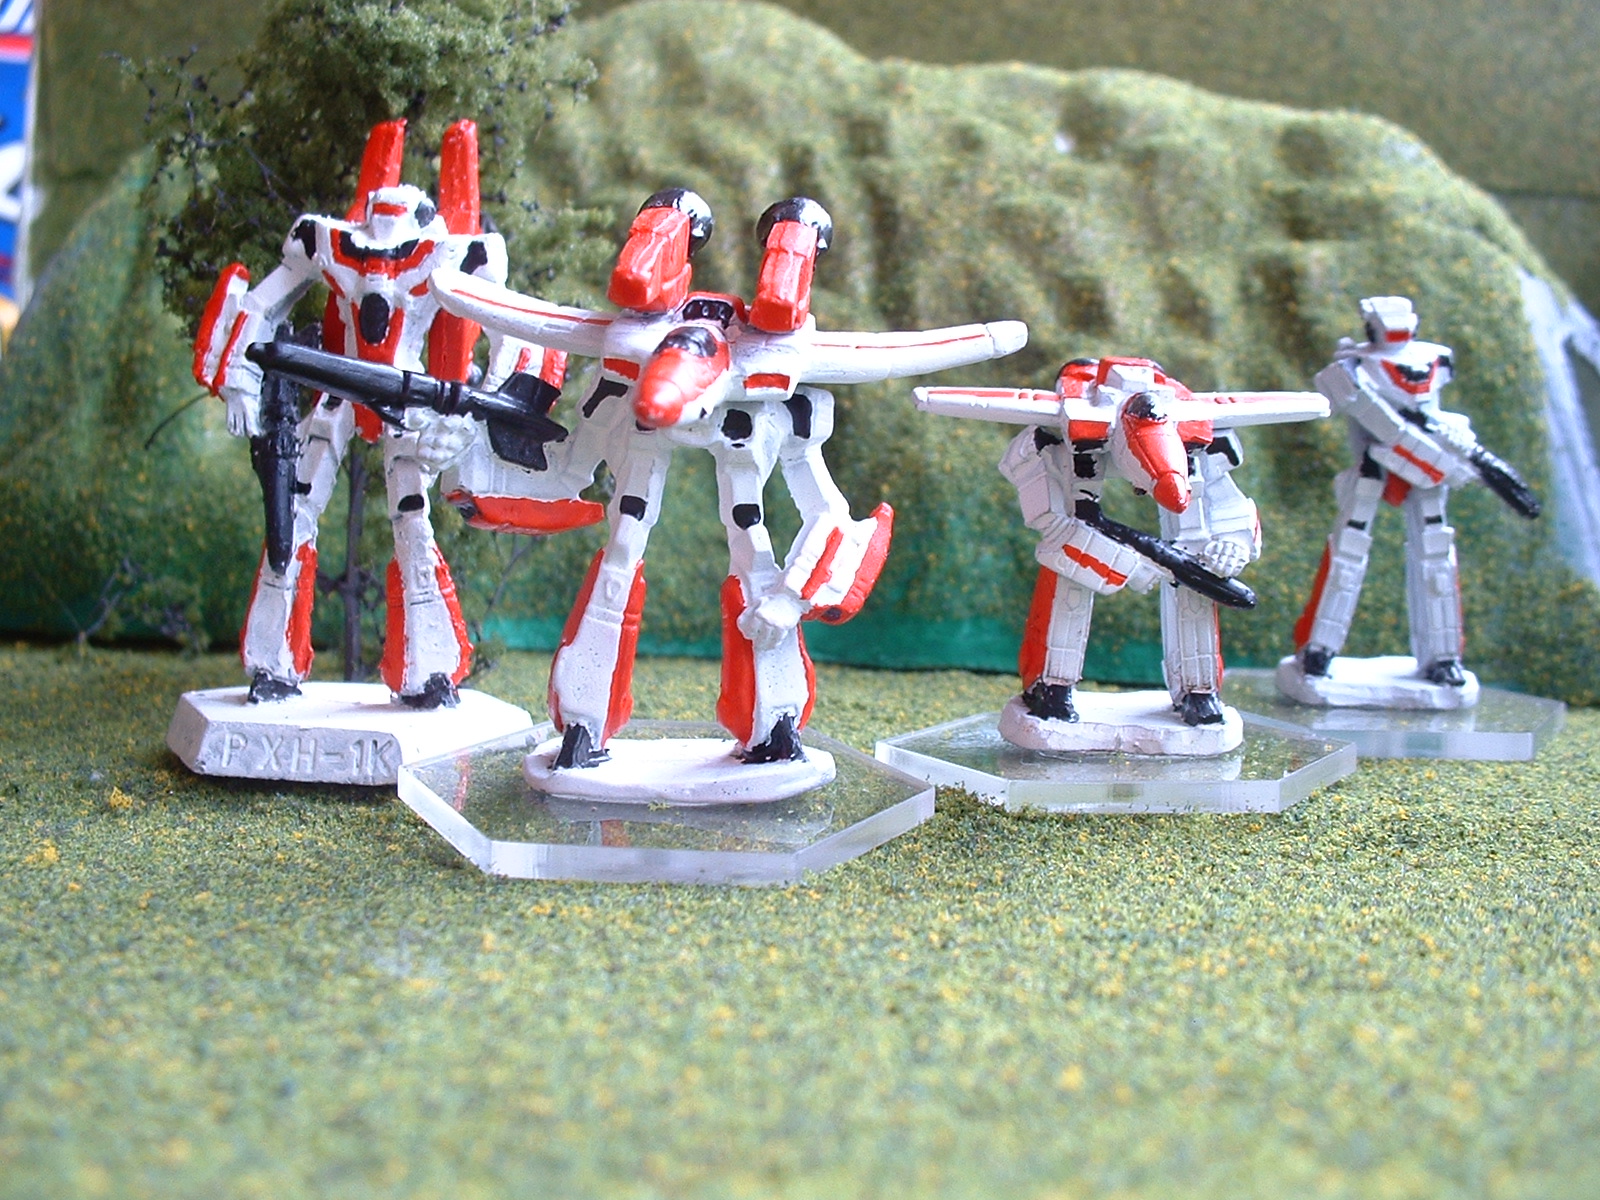
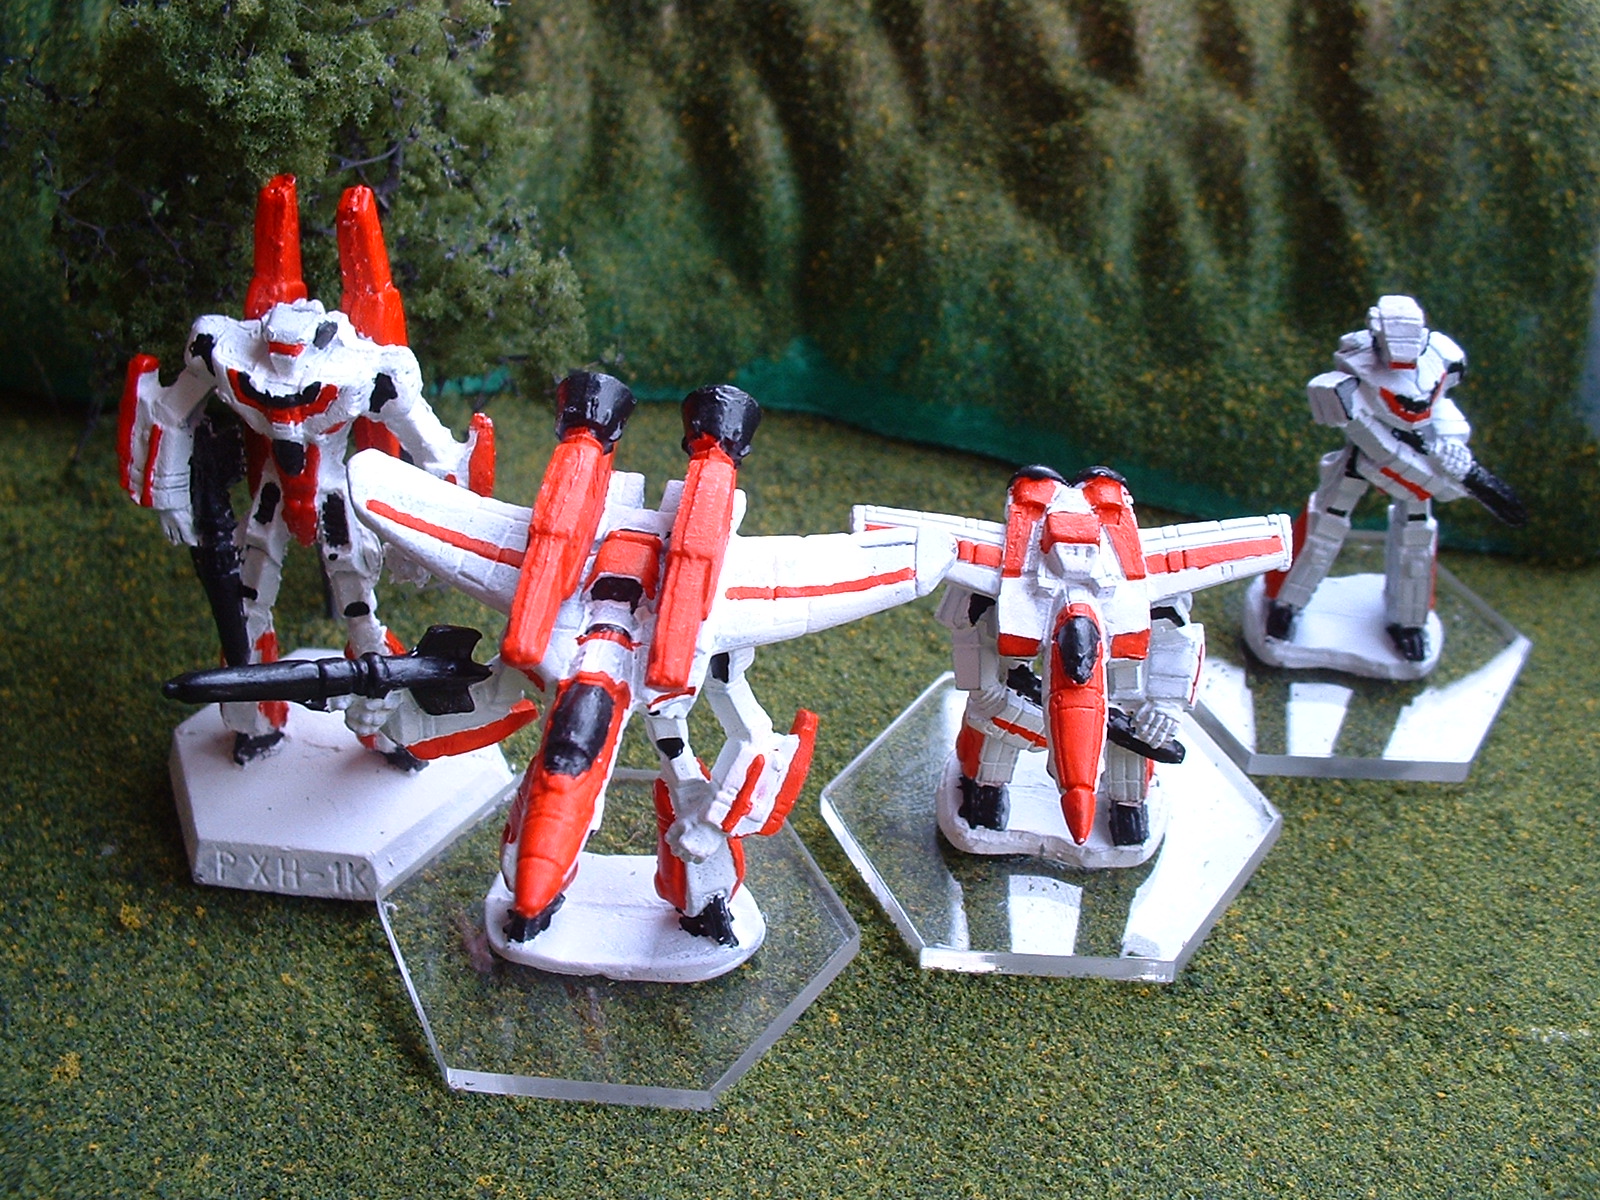
I also did my BC Regiment Berserker with a brown ink wash over desert sand, to get the tan look.
Hints: make sure you've done all the major work before you apply a wash. I usually do the base color(s) and any metal parts before I wash, then re-drybrush, then add highlights.
The other way to get this effect is to give the mini a dark base coat all over, then instead of "wet-brush" painting like you have done, do (a few) drybrush layers over the whole thing. The drybrushing means that the original dark color still shows through in all the low, recessed parts. I've done most of my Dark Phoenix minis this way - my "reference green" scheme is GW Camo Green over a base coat of GW Dark Angel green. All the "highlighting" around the arms & legs is actually just the base coat showing through.

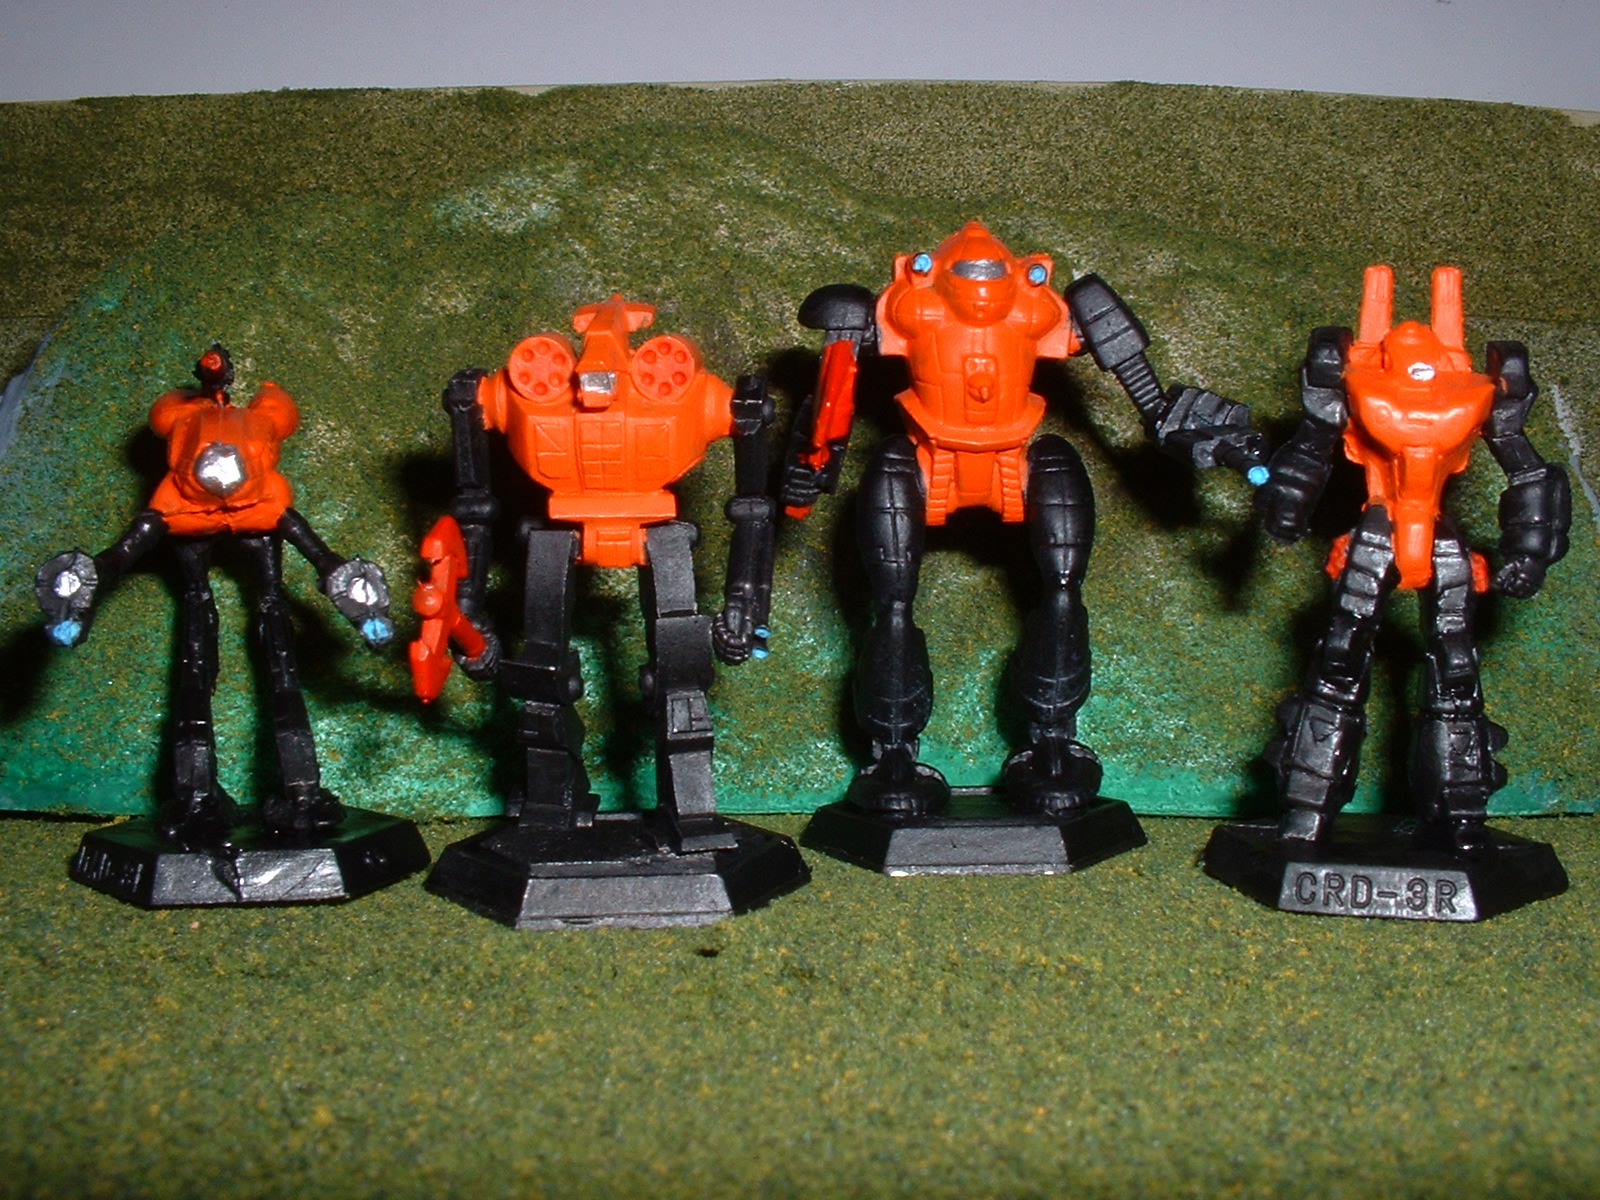
I'm just a mid-level painter; I've learned more in the last 2 years than in the decades before that, and I'm still fairly low on the food chain. There are some tutorials around - heck, they're listed in the BC Regiment forum, I'll see about dragging the links out and copying them here for other folks.
Washes and drybrushing take a lot of courage to try. They don't make sense - "Whaddya mean, wipe off most of the paint? And then douse this mini I've labored over in ink?" And they take some experiments, and a preparedness to give it a go. But the first time you get a good result, you'll be hooked, I reckon.
Cheers, sorry for rabbiting on,
W.


